500GB Whole Home PVR Upgrade Instructions for VIP2262
Note:
All recordings will be erased, however all scheduled recordings will remain scheduled.
- Press the MENU or left arrow button on your MTS TV remote control.
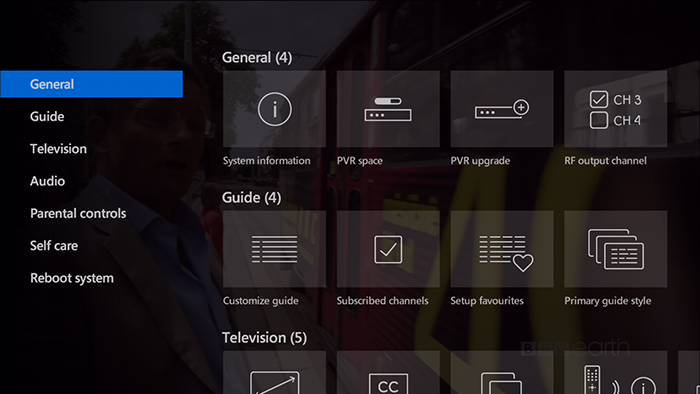
- Using the arrow buttons, highlight Settings, select PVR Upgrade and press OK.
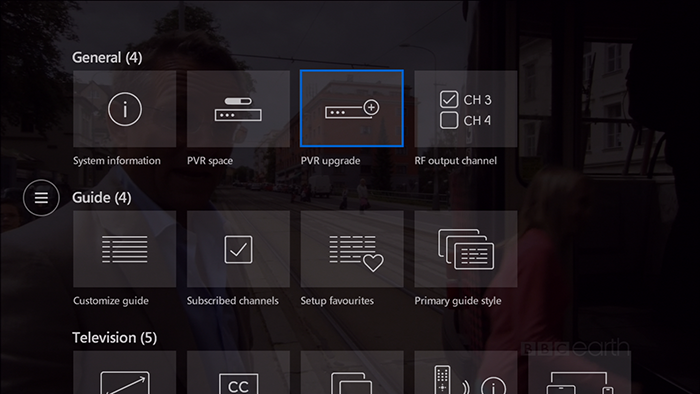
- Select PVR Upgrade.
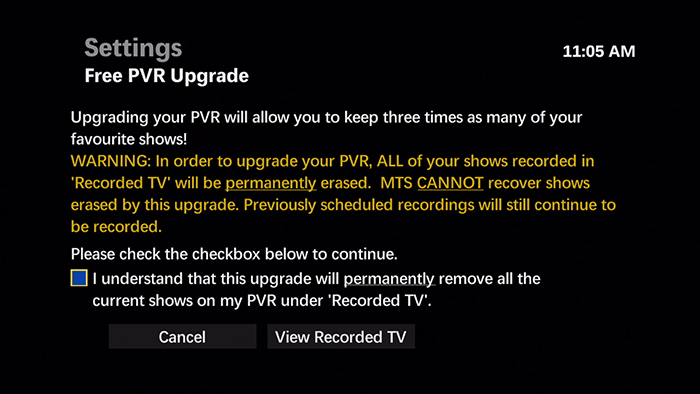
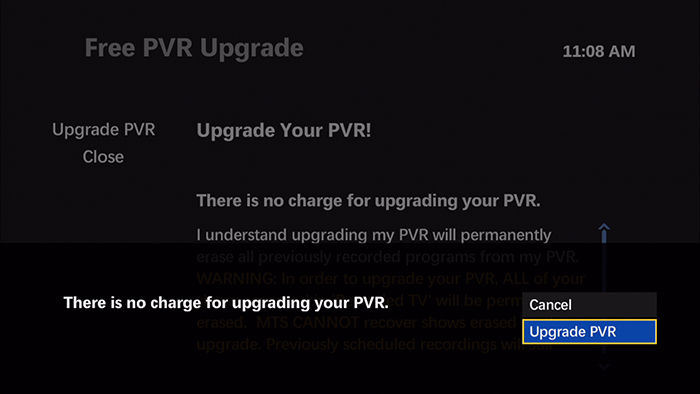
- Select the check box to acknowledge that you understand that this upgrade will permanently remove all the current recordings on your PVR.

Tips:
- Cancel will bring you back to the PVR Space Screen.
- View Recorded TV will bring you to a list of your recorded shows.
- Select Upgrade Now.
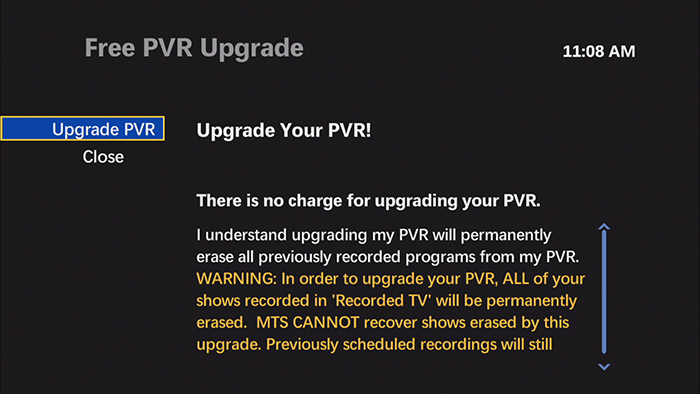
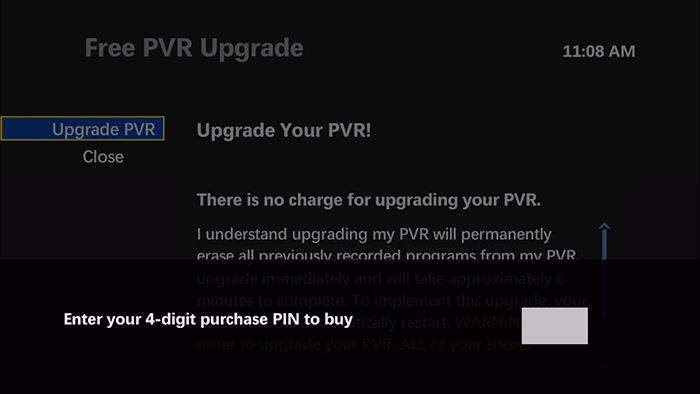
- Select Upgrade PVR. If you have enabled the Purchase Lock and set up a rental PIN on your Bell MTS Fibe TV service, you will be prompted to enter your PIN.
Notes:
- The Upgrade PVR service is explained here.
- Reminder: Your previously recorded shows will be permanently deleted.
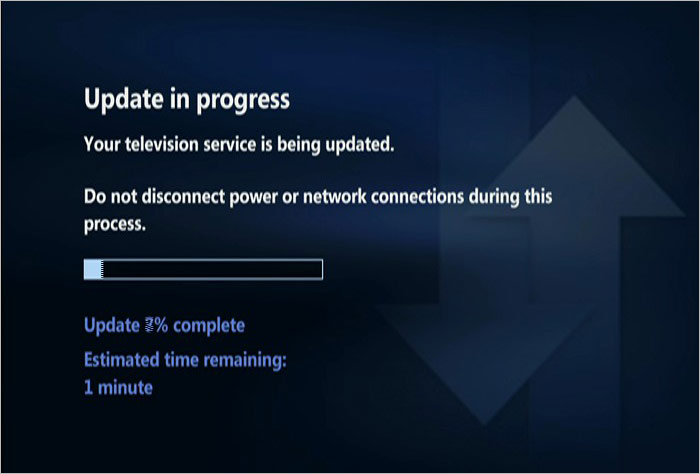
- The PVR Upgrade process will now begin. Your set-top box may restart several times during the upgrade. You will receive a confirmation message when complete.
Tip:
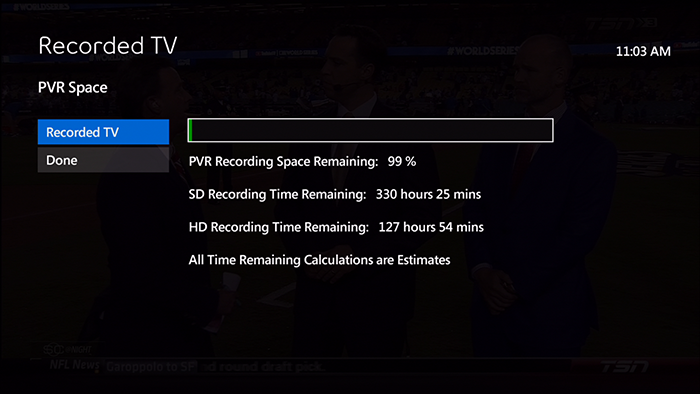
PVR Recording Space Remaining will display as 100%, SD and HD Time Remaining will display to show that the recording time has increased due to the upgrade.
Confirming the PVR Space Upgrade in your News Log
- Using the arrow buttons, highlight Menu >> Message Centre >> News Log and press OK.
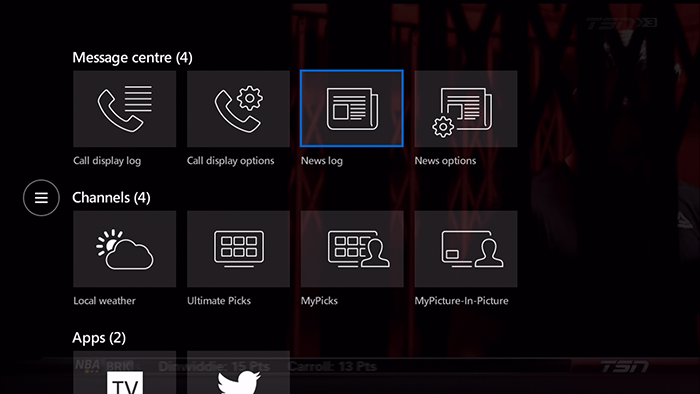
The News Log will contain a Confirmation of your PVR Space Upgrade with a Date and Time Stamp.
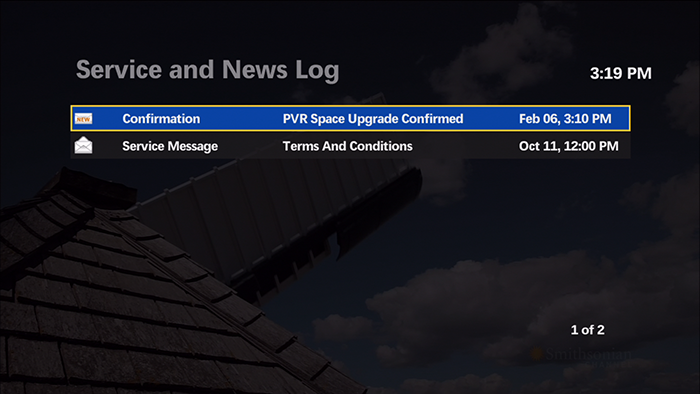
To view the Confirmation Message Details in your News Log, just press the OK button on your MTS TV remote control.